Drawing Lessons from the Masters
A number of people have asked me how I do the Forest comics. Here's a little inspirational story and a tutorial. Mind you, I'm not the master, my mentors are.
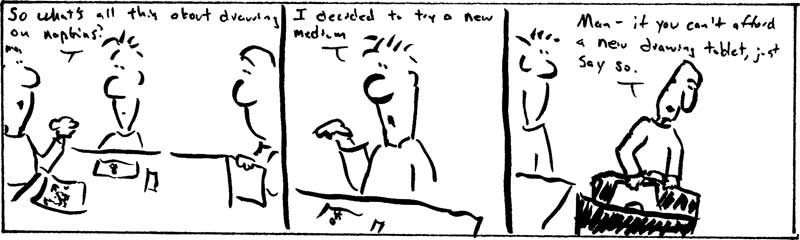
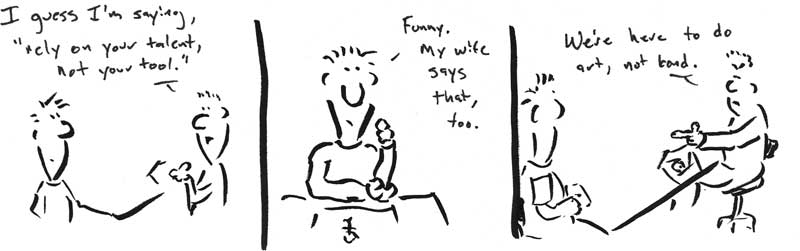
I've been drawing on napkins for a number of years now, but I wanted to take it to the next level. Turns out to do that, you really need to have some skill. Notice I didn't say talent, I said skill. Skill is something that you can learn. And yes, you can learn it, too.
Here's a step-by-step introduction to learning to draw. Just grab a pencil and paper and start. When you get a page or so, find someone who'll give you constructive feedback.
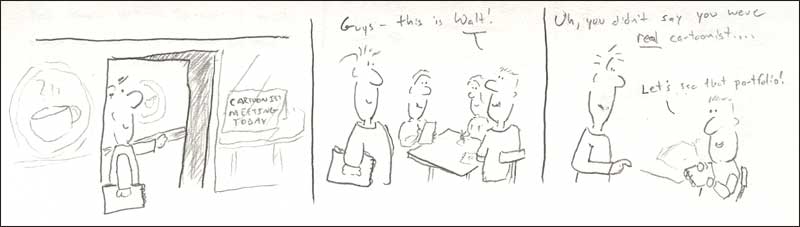
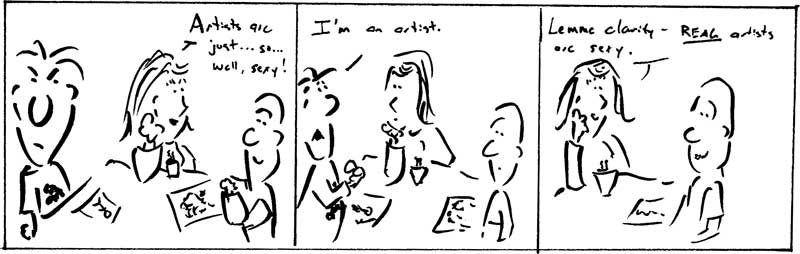
Step 1: Find a Mentor and Be Willing to Embarrass Yourself
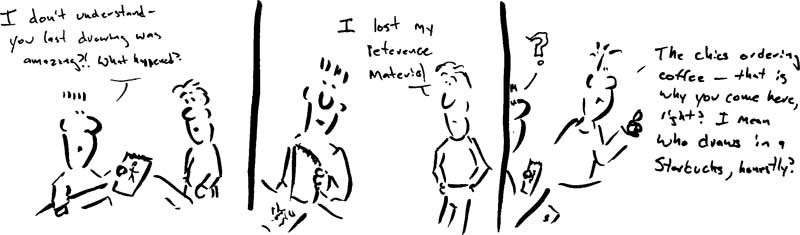
Each Thursday a real comic book artist and his buddies meet at the local Starbucks to do some drawing, share ideas, and show off their latest works. I mentioned that I was interested in drawing, and got an invite. This is one of those situations where it's very easy to get in over your head without knowing it. If you're going to bare your soul, at least have a peek at how far your mentor exceeds your abilities. Mind you, this is what you want from a mentor, but in my case I felt like I was doing left-handed finger painting while his group was getting publication deals.
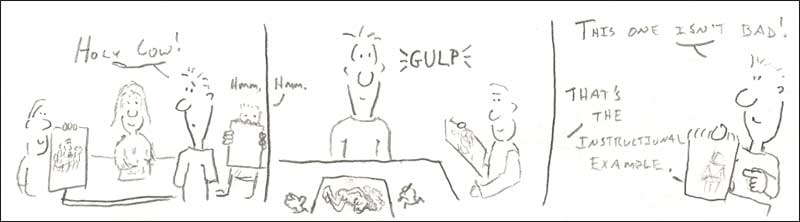

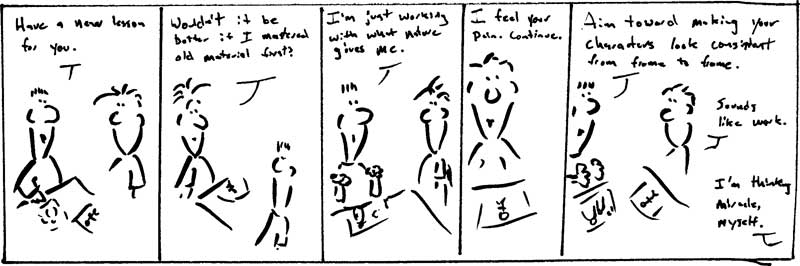
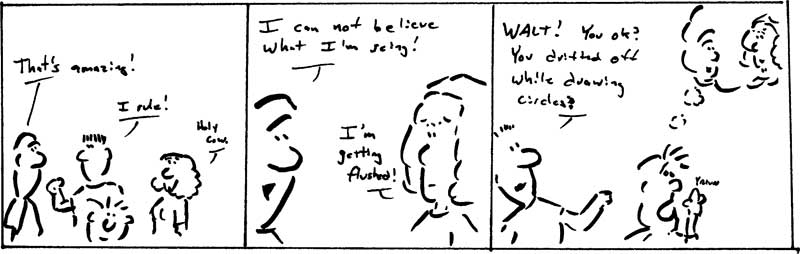
Step 2: Recognizing You Need Help is the First Step
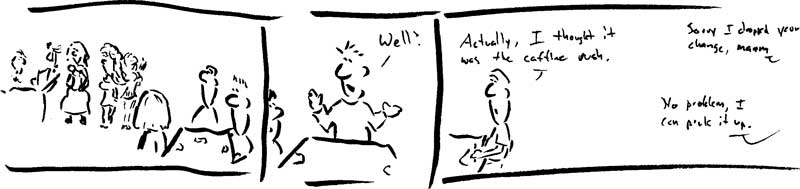
Apparently one cannot expect perfect results over night. Okay, well you can expect them, but you're not going to see them any time soon. A good mentor will provide constructive criticism, helpful tips that are at your level, and provide praise and support when you need it most.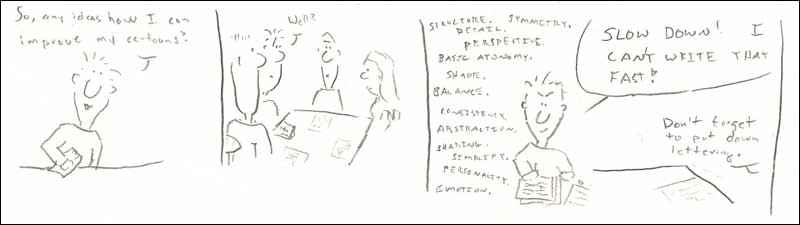
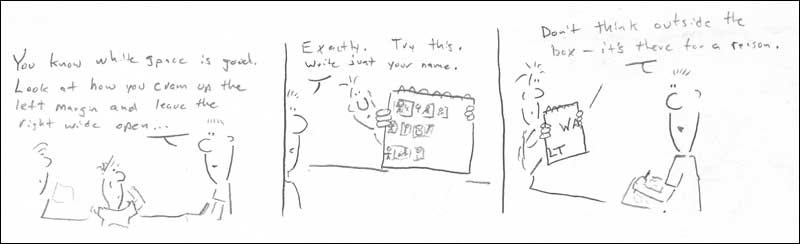
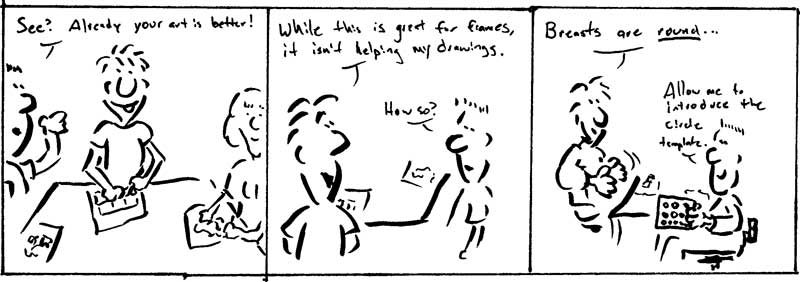
Step 3: Give Care to Margins and Layout
Sometimes just improving the layout helps things greatly.
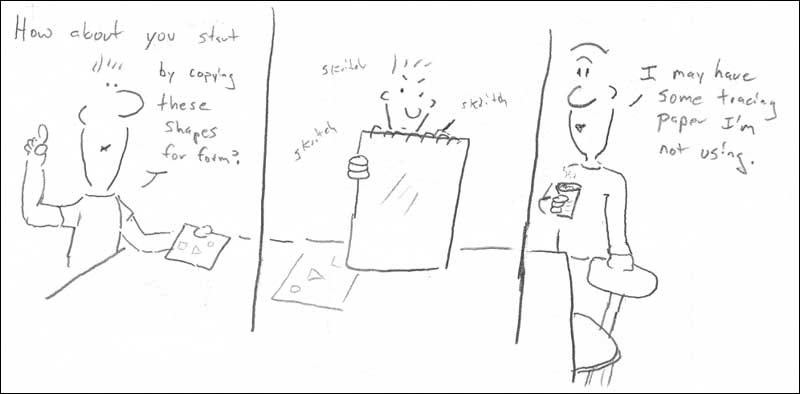
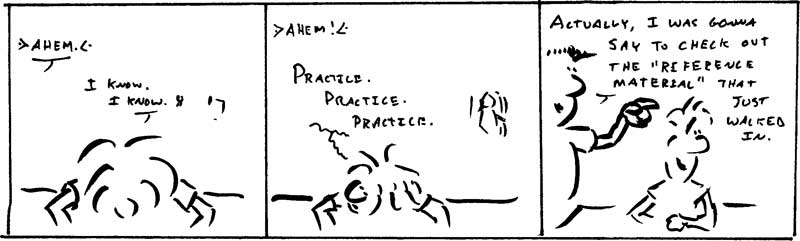
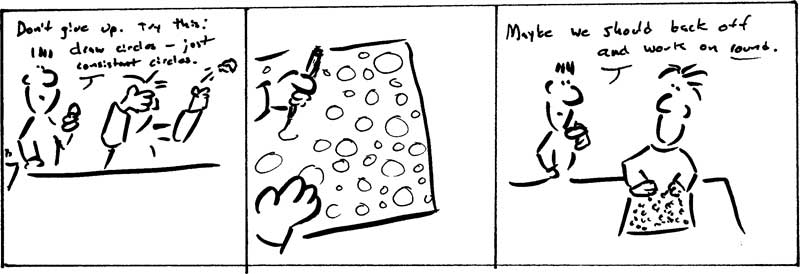
Step 4: Practice With Simple Shapes and Build to More Complexity
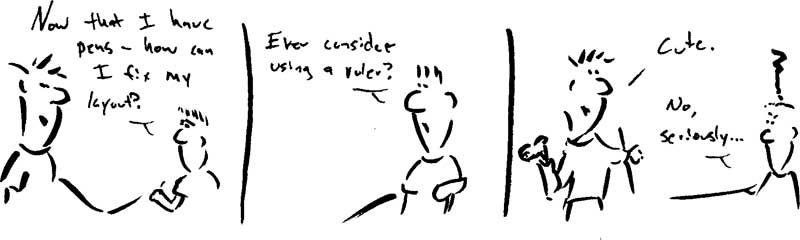
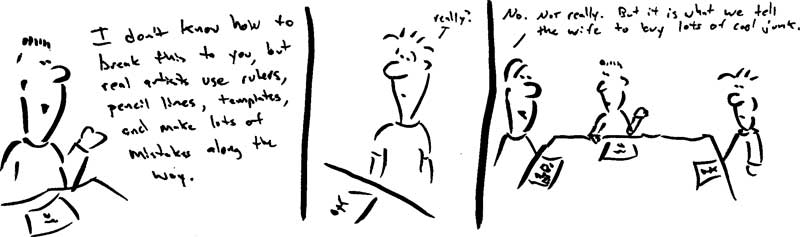
Ever wonder how professional artists draw straight lines and perfect circles? They friggin' cheat using rulers and circle templates. Turns out it's the end result that matters, not how you got there.
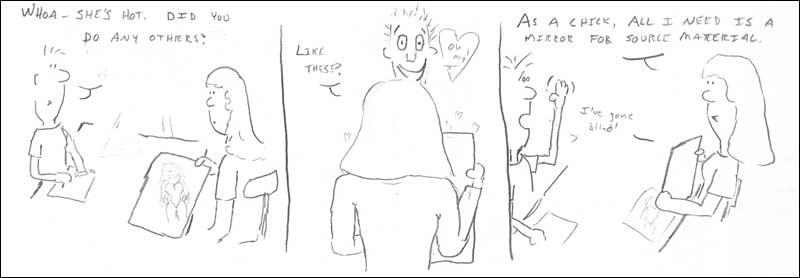
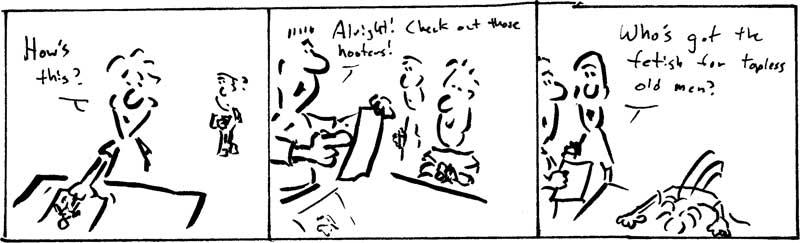
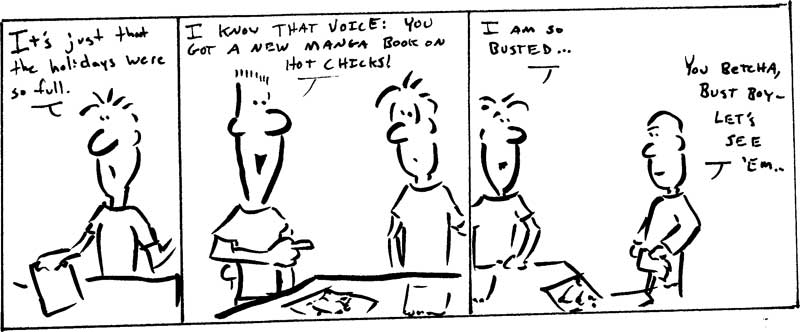
Step 5: Use Reference Material
Drawing people is hard. Drawing perspective is hard. Heck, drawing anything recognizable is hard. That's why it helps to have lots of reference material on hand. This is a good excuse to buy comic books, subscribe to Victoria's Secret, and drag out that collection of magazines you hid under your bed when you were a teen. A lot of questionable material is considered acceptable under the right artistic conditions.

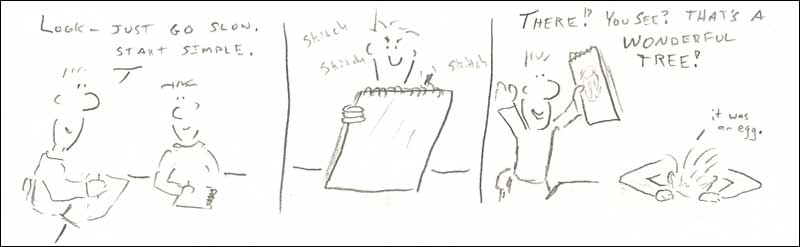
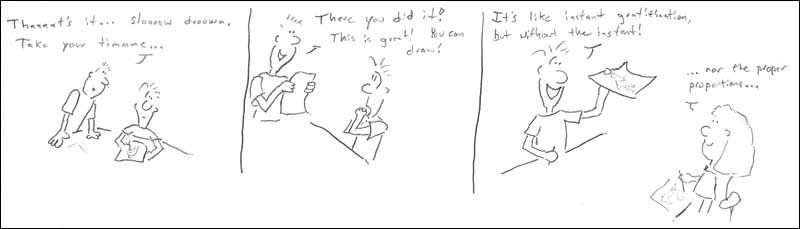
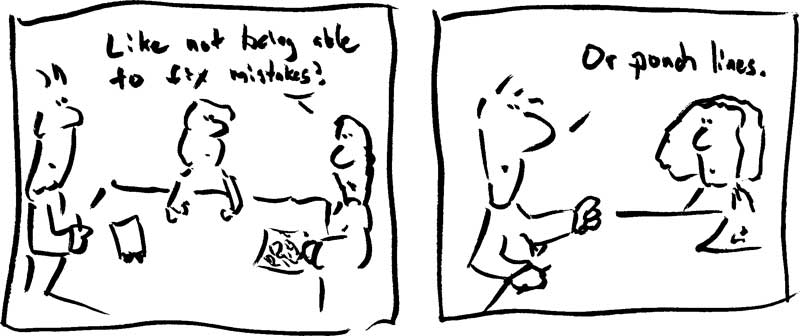
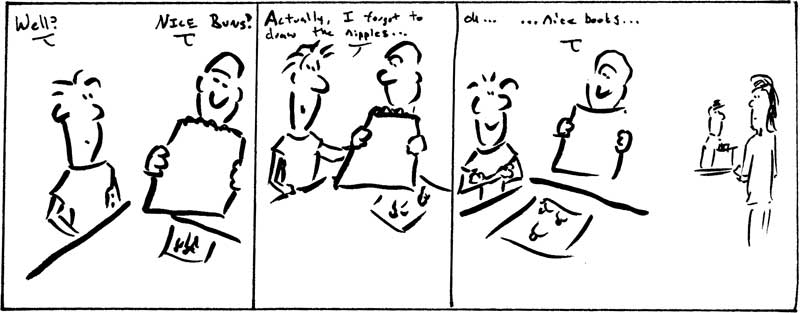
Step 6: Slow Down in the Face of Minor Success
As your drawing abilities improve, you'll get excited and want to rush things. Don't. At best this cheats you out of future improvements, at worst you regress into past tendencies. Don't cram in more than is necessary - keep things simple. Don't compare your learning experience with talented experts, you'll just get depressed.


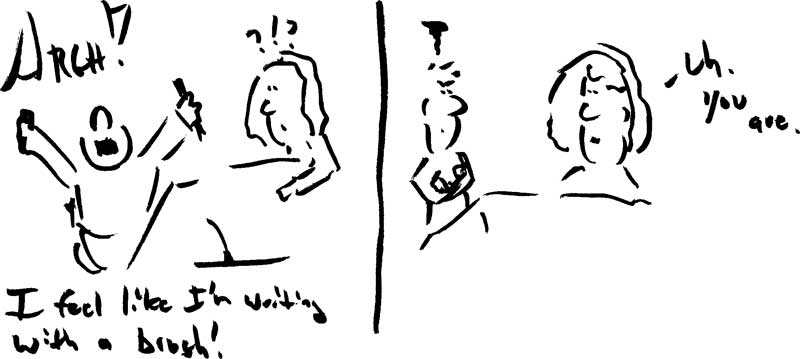
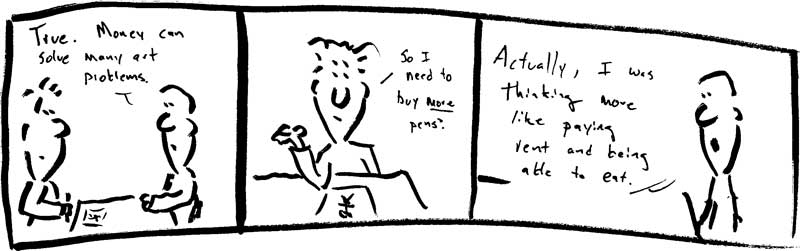
Step 6: Tools Make a Difference
It's all about the toys. In particular, mastering them. Turns out, in addition to talent, you need art-related stuff. A simple pencil won't cut it. This is the great part about being an artist. The upside is that you get to buy all kinds of neat stuff. The downside is that it can take a while to learn how to use it all...a long while. Expect your first attempts to look like crap.

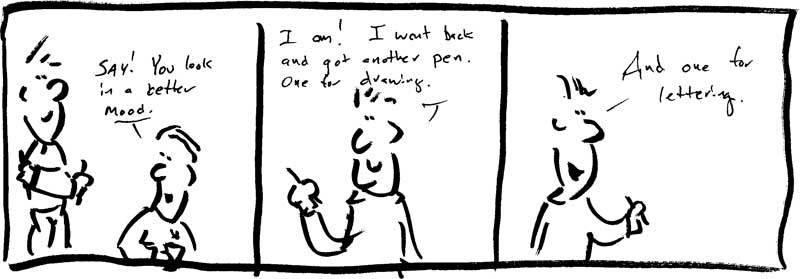
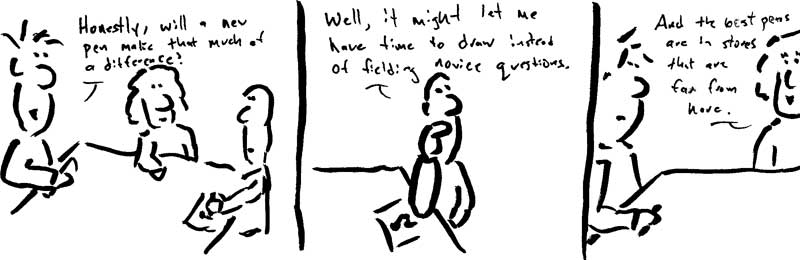
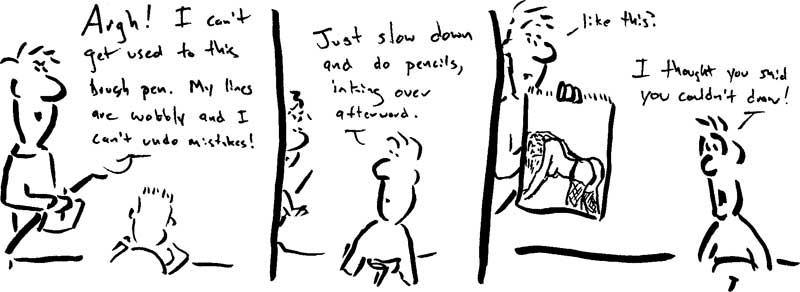
Step 7: Master Your Tools and Your Medium
Different pens and papers are going to have a different look and a different feel. You'll have to acclimate to that new change with practice. More importantly, don't discount the possibility of introducing even more toys ...*cough*, art supplies... to the mix. Eventually you'll find a combination that gives you better control and provides the look you want (or are willing to accept by compromising your sense of aesthetics). In short, buying sprees make you feel good.
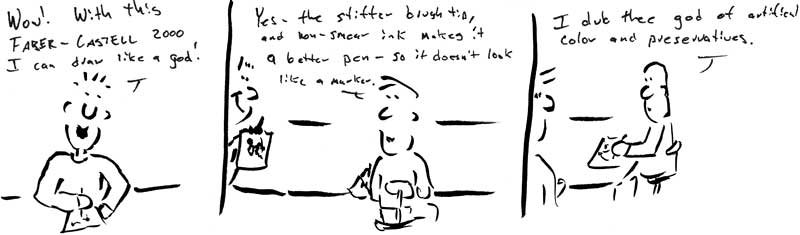
Step 8: Find Balance
Eventually a style that you like will start to fall out based upon the tools you're using and as your mastery improves. Even though new toys made a noticeable improvement, be careful when dancing on the line of diminishing returns. Sometimes simple is better.
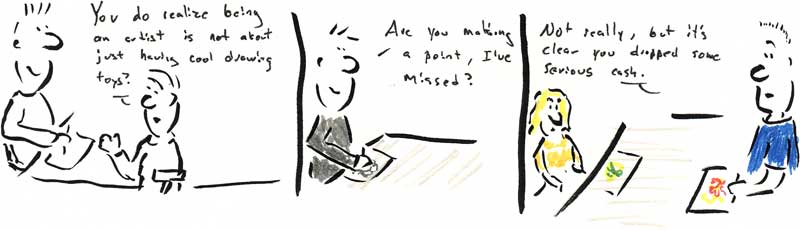
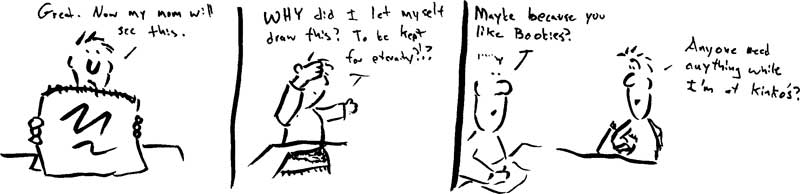
Step 9: Draw What You Like
Getting the ideas out of your head and on paper, pick things that you can visualize well and that you like. This way you'll keep practicing and refining. If you stumble into something you're particullarly happy with, make copies to preserve it.
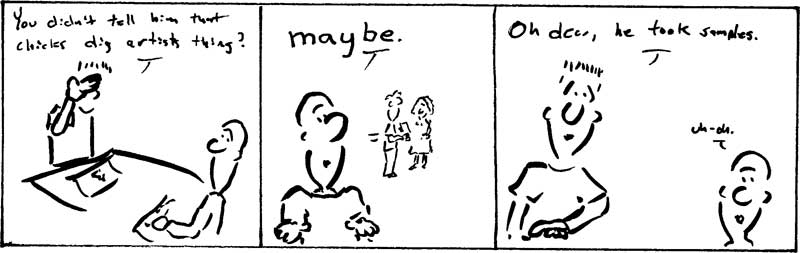
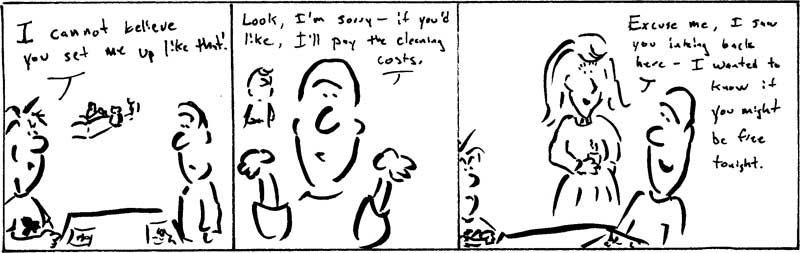
Step 10: People Watch for Ideas
Beyond looking at pictures, it's important to study first hand how people look, how they move, and how they interact. Find a place where you can quietly work and observe. In the right creative hands, voyeurism and stalking are handy skills of the trade.
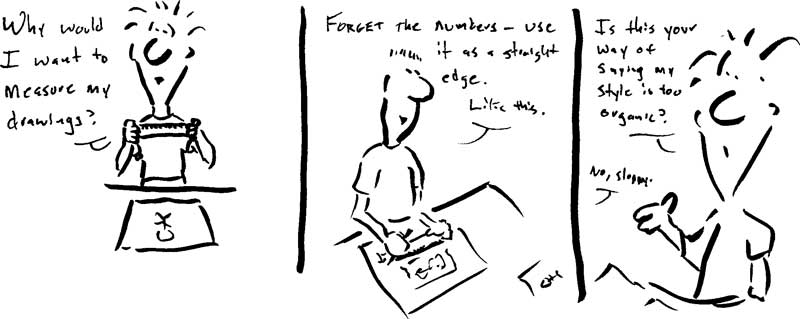
Step 11: Start Adding Structure to the Layout
Recognize that different aspects of the drawing are going to require a balance between the creative and the technical. If you need a straight line, don't wing it - swallow your pride and use a straight edge. There are many such devices, and they are not "crutches." There are templates with everything from ovals to french curves.
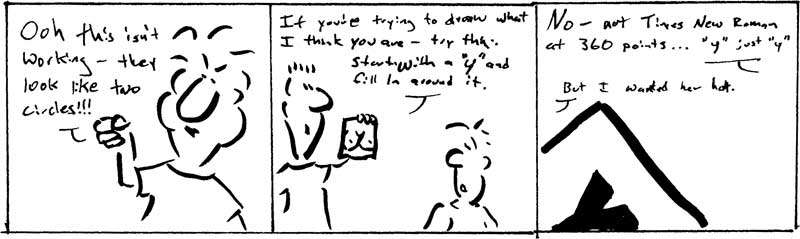
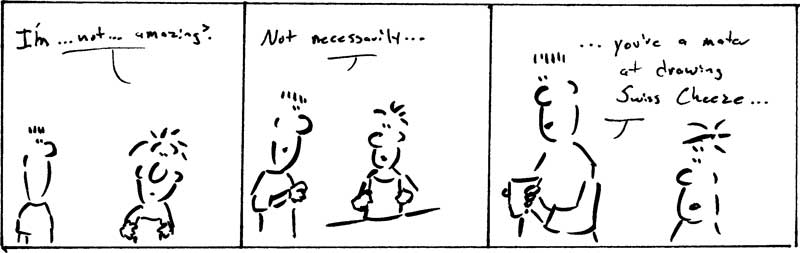
Step 12: Make Your Own Shortcuts
If you look at basic calligraphy, each character is made of a combination of smaller strokes put together. It turns out there are only a small number of strokes available to choose from that comprise each letter. The same holds true for illustrations, basic structures can be combined to generate the look of a more complicated image. Try looking for basic shapes you already know, such as the letter 'O', the letter 'C', or perhaps puctuation like a closing parenthesis. Because your hand already knows how to make these strokes, if you think of your image in this manner, you can crank them out faster and with more consistency.
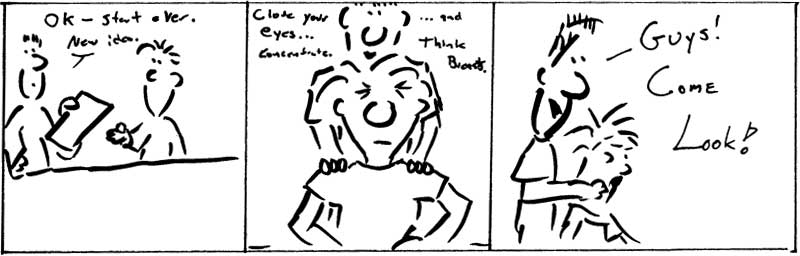
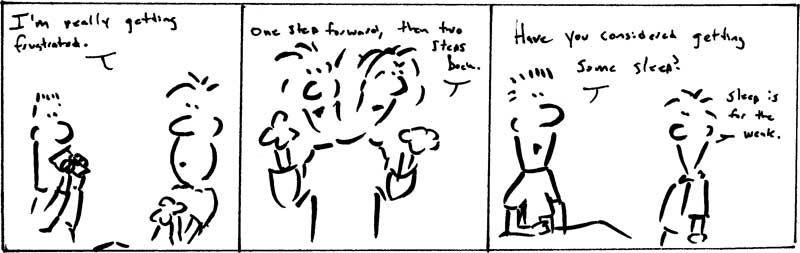
Step 13: Take Breaks When You're Frustrated
If things aren't working out the way you want, step away from the situation. It's like controlled denial. When you return, you'll have a fresh perspective.


Step 14: Control and Consistency
The name of the game is control and consistency. Things don't have to be perfect, but that's okay. The image you have in your mind about how it should look is most likely never going to be captured on paper. That's because you know in your mind's eye how it should look. Your viewers, however, will only have what they've seen on paper. They will generalize away the minor mistakes and be blind to them. As long as your characters have some degree of consistency between them, they'll be recognizable. You can use subtle clues like positions around a table to keep the frame of reference when you feel you're having a melt down. Failing that, try drawing a bunch of simple shapes again and again and making them look the same.

Step 14: "Feel," Don't Outline
Try and imagine the way the line would trace an object in the real world. Don't think of the object and then try to outline it. Follow the curvatures.
Step 15: Frustration is Part of the Process
Not everything is going to work the way you want it to, and you're not going to get where you want as soon as you'd like. Recognize that frustration is part of the process, and that at times you'll revert back to bad, old habits. It's okay, just don't expect it to be your best work.
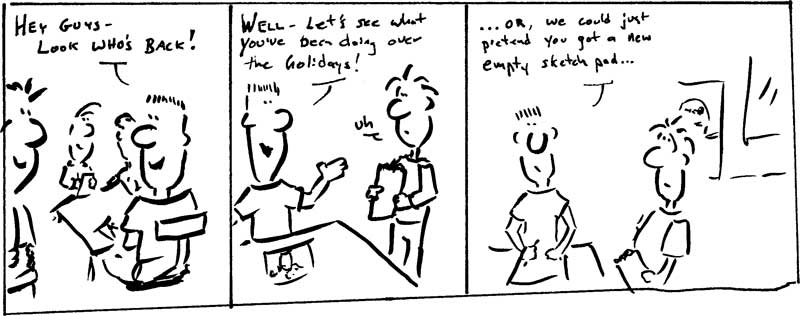
Step 16: Learn to Stall
No publisher is going to take you seriously if you deliver quality work on time. Holidays are a good excuse to cover for writer's block. With practice, it's possible to let entire months slip by! Warning: a good mentor will see through this. Luckily, mentors make terrible publishers, so you don't have to worry about it when it really matters.
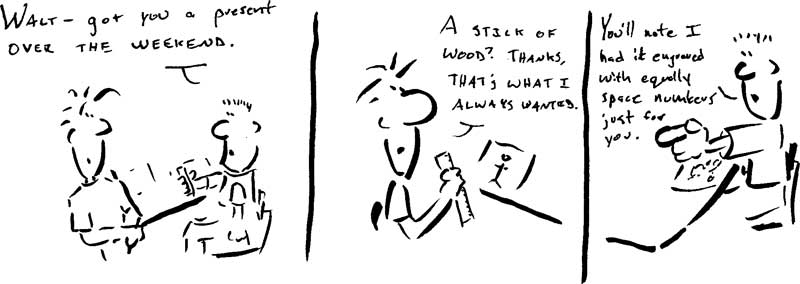
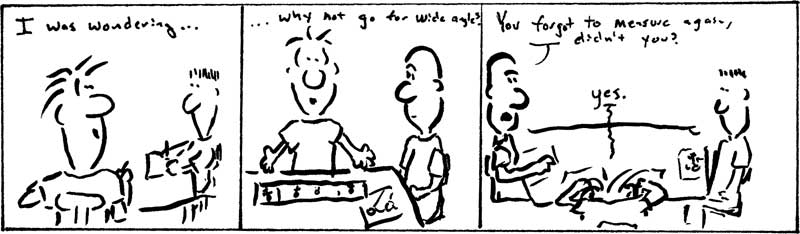
Step 17: Measure and Use Right Angles
Those lines on your ruler are actually functional, believe it or not. If you don't measure, your panel widths may not look evenly spaced, though maybe that's an effect you're after. Also be sure to square your corners, or the strip ends in a parallelogram.
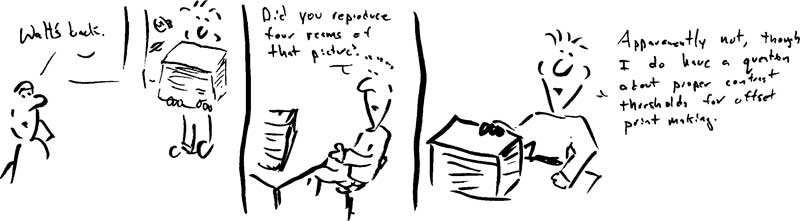
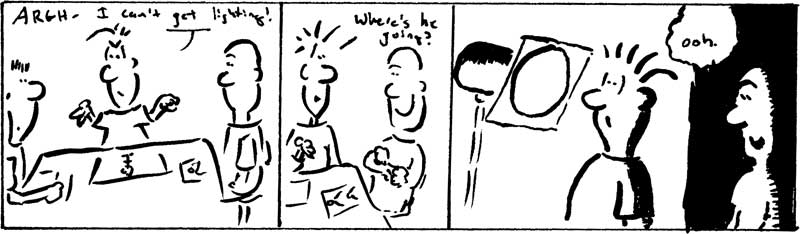
Step 18: Consider the Light Source
Decide where the light source that illuminates your scene is coming from and how it falls on things. Things that are 'brighter' should have thin lines. Things that are 'in shadow' should have thicker lines. You can take this to a number of extremes, but be forewarned this will eat up ink faster when you print. This is secretly known as drawing your way into a printer upgrade, since it's cheaper to buy a whole new printer than ink refills.
Step 18: Save and Count Your Work
Stockpile your cartoons. In very little time you'll have 52. That means you now have material for a whole year that you can release once per week!